
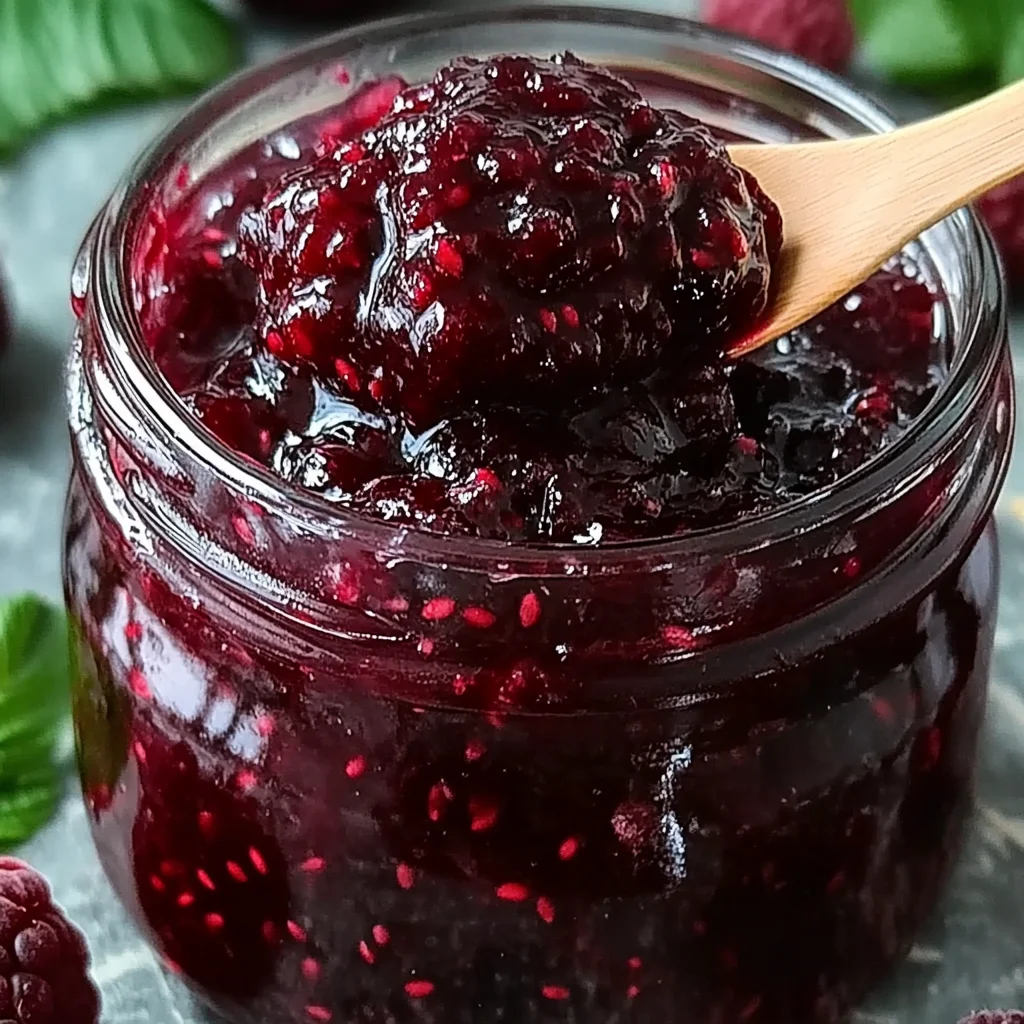
There’s something incredibly nostalgic about the sweet, tangy taste of homemade jam. It brings back memories of summer days spent picking fresh black raspberries, followed by the delightful task of transforming those juicy gems into a luscious spread. If you’re looking for an easy and quick way to capture that summer essence, this Easy No Pectin Black Raspberry Jam recipe is your answer. Trust me, you will love how simple it is to make!
Why You’ll Love Easy No Pectin Black Raspberry Jam
- Fast
- Easy
- Giftable
- Crowd-pleasing
Ingredients
- 4 cups black raspberries, mashed: Fresh or frozen work great, but I recommend using fresh for the best flavor.
- 2 cups granulated sugar: This is what gives your jam that sweet, irresistible taste.
- 1/4 cup fresh lemon juice: The acidity helps balance the sweetness and enhances the flavor.
- 1/2 teaspoon salt: Just a pinch to elevate the flavors.
How to Make Easy No Pectin Black Raspberry Jam
Now, let’s get cooking! This step-by-step guide will have you enjoying your homemade jam in no time.
- In a large saucepan, combine the mashed black raspberries, granulated sugar, lemon juice, and salt.
- Heat the mixture over medium heat, stirring frequently until the sugar dissolves. This is an important step, so be patient!
- Once the sugar has dissolved, increase the heat to high and bring the mixture to a rolling boil. Boil for 10-15 minutes, stirring occasionally. You want to cook it until the jam thickens and reaches the desired consistency.
- To test for doneness, place a small amount of the jam on a cold plate and let it sit for a minute. Run your finger through it; if it holds its shape, it is ready.
- Remove the saucepan from heat and allow the jam to cool slightly. Your kitchen will smell heavenly!
- Pour the jam into sterilized jars, leaving some space at the top. Seal the jars and let them cool completely at room temperature.
- Store the jam in the refrigerator for up to 3 weeks or process in a water bath for longer shelf life. You might want to share some with friends, but be prepared to be asked for the recipe!
Substitutions & Additions
If you’re feeling adventurous, here are a few suggestions to customize your jam:
- Swap black raspberries for other berries like strawberries or blueberries for a different flavor profile.
- Try adding spices like cinnamon or vanilla for a unique twist.
- Add a splash of orange juice or zest for a citrusy kick.
Tips for Success
To ensure your jam turns out perfectly, here are some tips:
- Make sure your jars are sterilized to prevent spoilage.
- Keep an eye on the mixture as it boils, as it can bubble up and spill over.
- If you’re new to jam-making, don’t worry! It’s all about experimenting and having fun.
How to Store Easy No Pectin Black Raspberry Jam
Your delicious jam can be stored in the refrigerator for up to 3 weeks. If you want to keep it longer, consider processing it in a water bath for a shelf-stable option. Just make sure to follow proper canning guidelines!
FAQs
- Can I use frozen black raspberries? Yes, you can! Just make sure to thaw and drain excess liquid before mashing.
- What if my jam does not thicken? Simply cook it a bit longer and test again. Sometimes it just needs a little more time.
Making your own jam is not only rewarding but also a delightful way to savor the flavors of summer all year round. For more delicious recipes, check out my Easy Strawberry Pie Recipe or Refreshing Mediterranean Cucumber Salad for treats you will love!
Don’t forget to share your jam-making adventures, and feel free to follow my Pinterest for more delicious ideas!
Easy No Pectin Black Raspberry Jam
Ingredients
Equipment
Method
- Step 1: In a large saucepan, combine the mashed black raspberries, granulated sugar, lemon juice, and salt.
- Step 2: Heat the mixture over medium heat, stirring frequently until the sugar dissolves.
- Step 3: Increase the heat to high and bring the mixture to a rolling boil. Boil for 10-15 minutes, stirring occasionally.
- Step 4: To test for doneness, place a small amount of the jam on a cold plate and let it sit for a minute. Run your finger through it; if it holds its shape, it is ready.
- Step 5: Remove the saucepan from heat and allow the jam to cool slightly.
- Step 6: Pour the jam into sterilized jars, leaving some space at the top. Seal the jars and let them cool completely at room temperature.
- Step 7: Store the jam in the refrigerator for up to 3 weeks or process in a water bath for longer shelf life.